

How To Change A Template From Comment Only In Asana
Forms are available for all Premium, Business and Enterprise customers. Certain features within Forms, such as branching, header customization and confirmation message customization are only available to Business and Enterprise users .
With Asana Forms you can standardize the way work gets kicked off for your team, gather the necessary information you need, and ensure that no work falls through the cracks. You can use Forms with internal and external teams, to collect and consolidate information, minimize any friction, back and forth, or misunderstanding for your team.
How to create a Form
Forms are part of every Asana project. When someone fills out your Form, it will show up as a new task in the project it is connected to.
To create a Form:
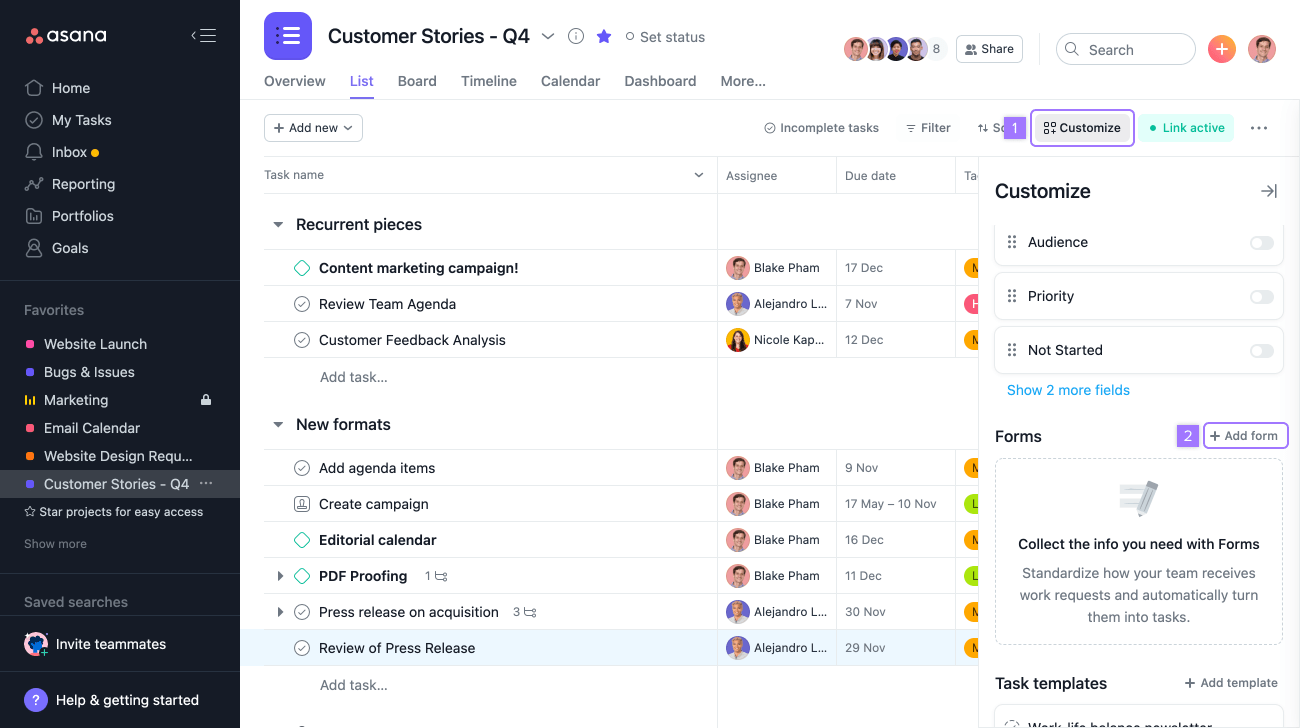
- Access a project and navigate to the Customize tab
- Click Add form
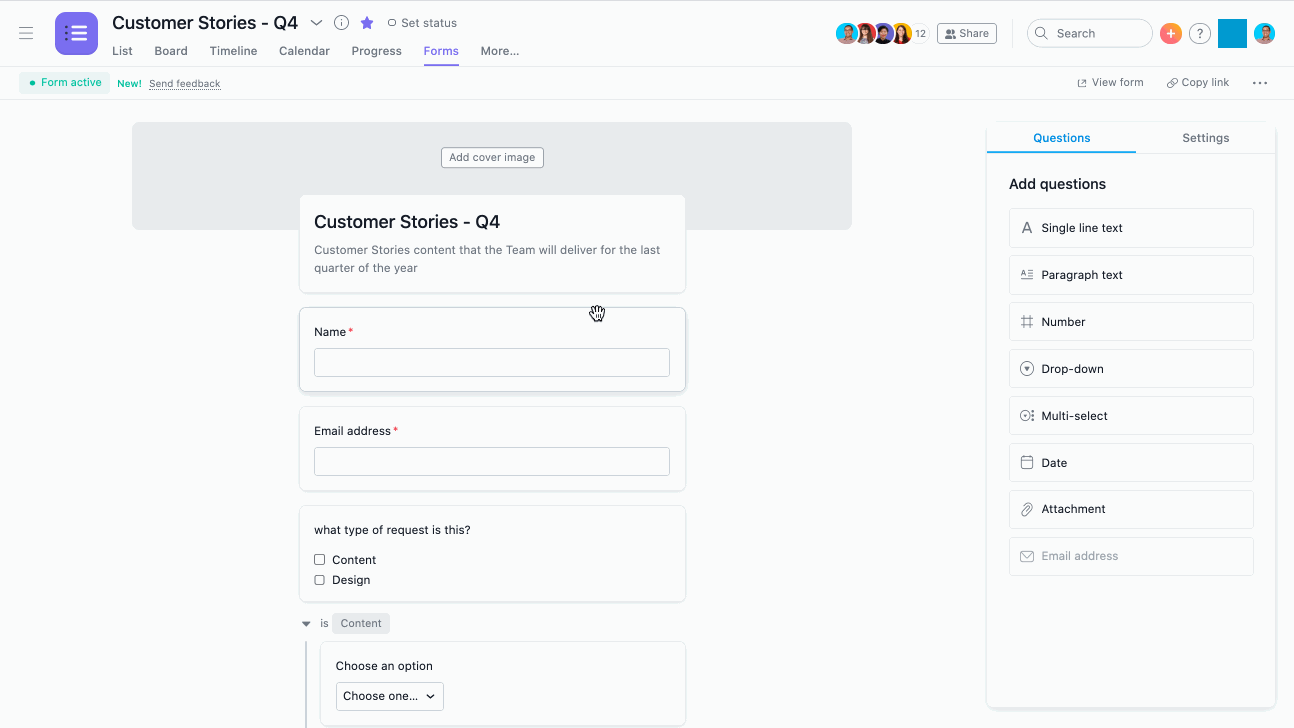
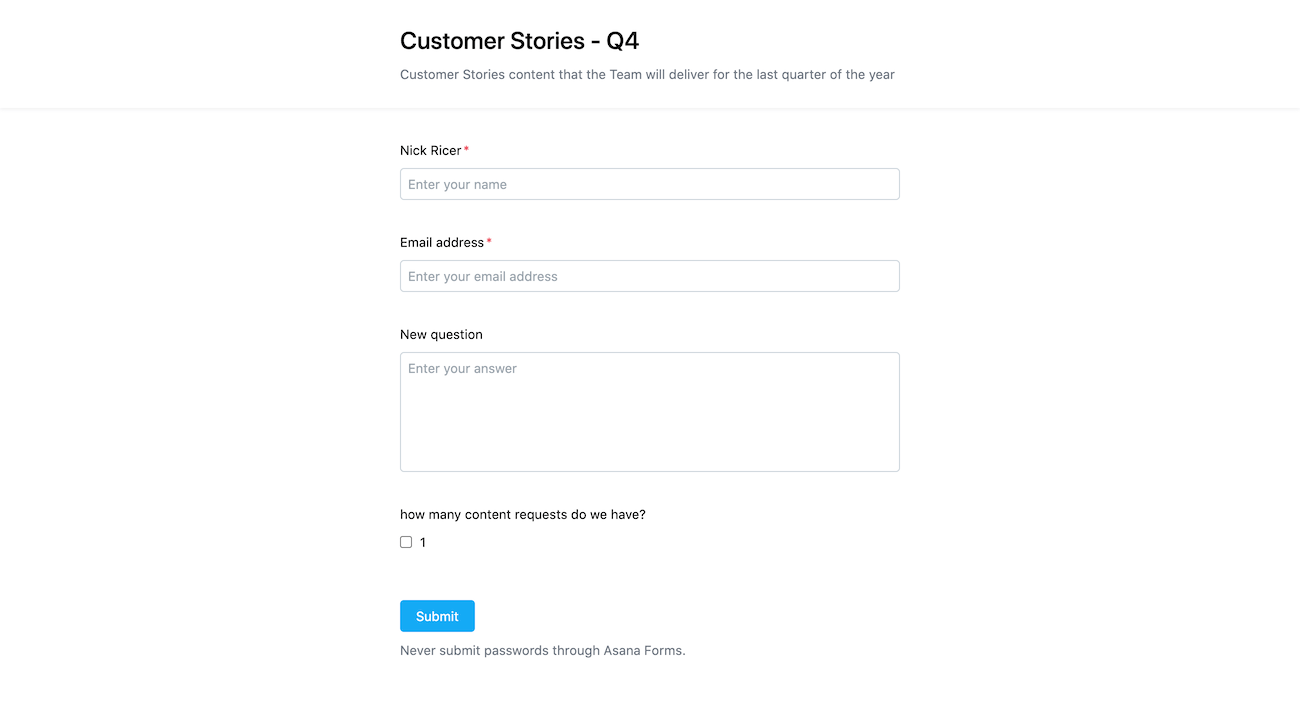
From here, you will be able to create, edit and share Forms. Your Form will take on the same name as the project it is connected to, but you can change the name of your Form and add a description to give directions or information to form submitters.
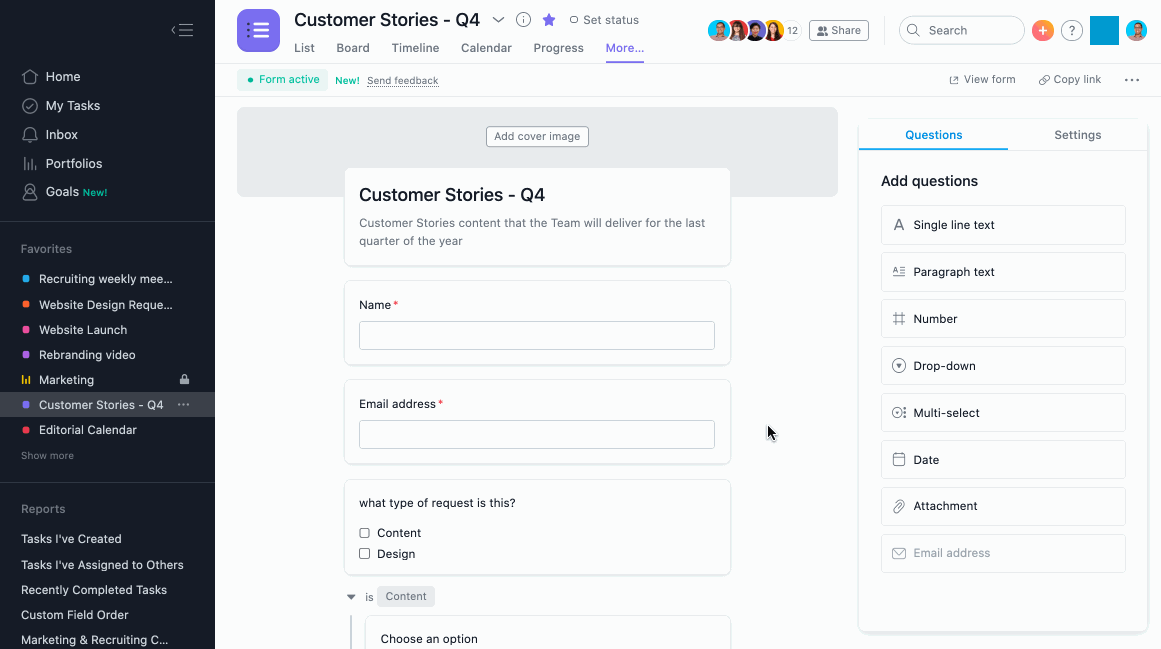
Asana Forms also come with two default questions, name and email, to ensure you get the contact information of the people who are requesting work from your team. You can choose to delete these questions when creating your Form.
Deleting the email question means that submitters won't receive the email confirmation associated with their submission.
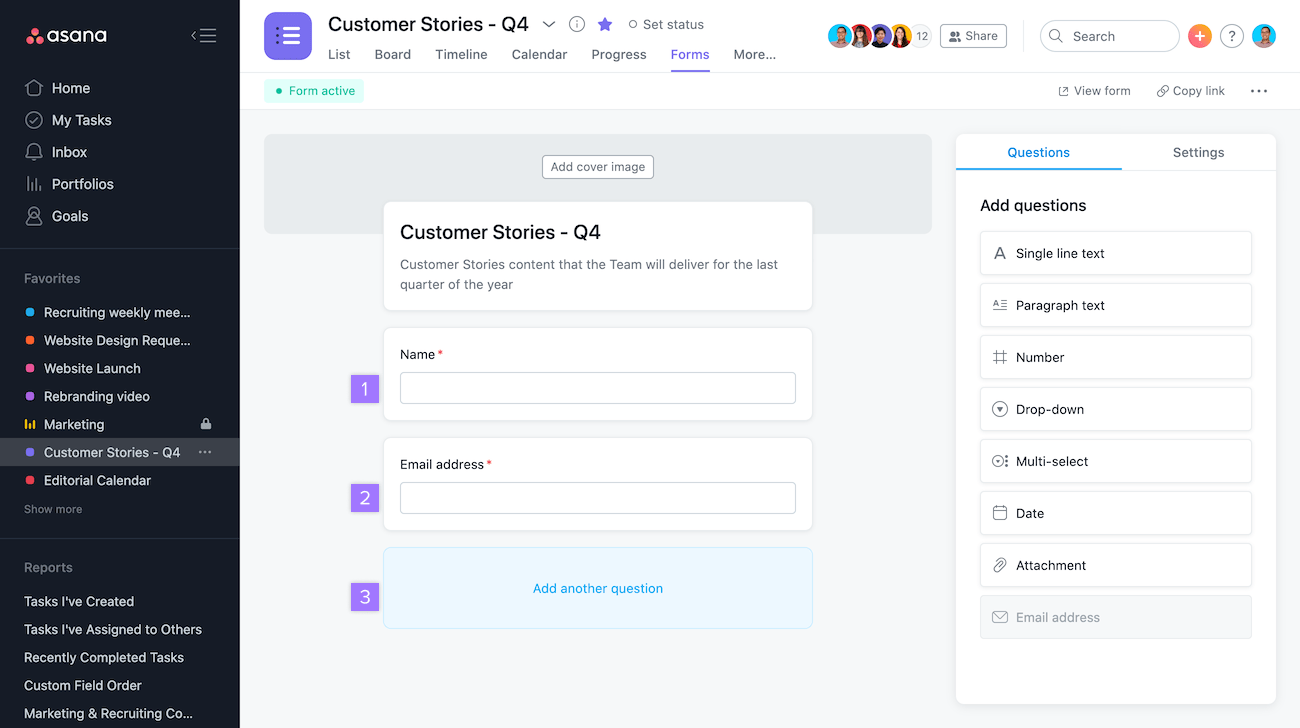
From the create form window, you can:
- Add a name
- Add an email address
- Create another question
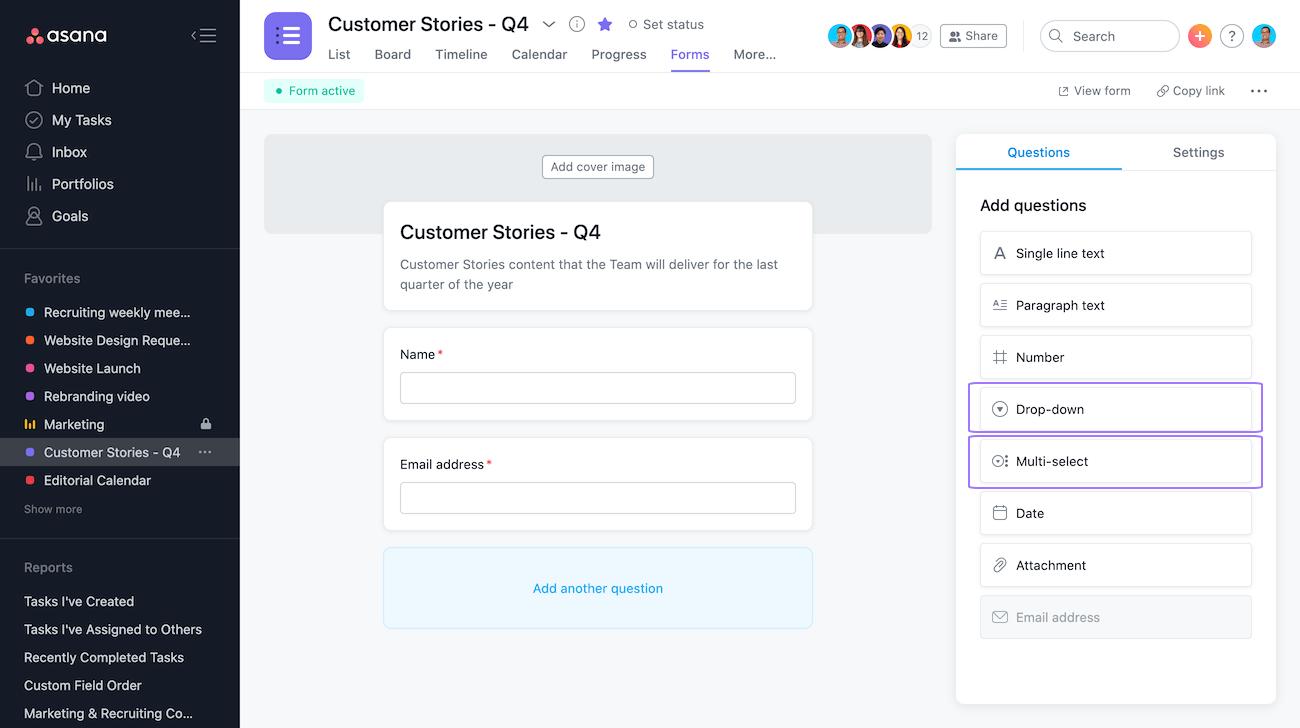
Forms branching
Forms branching is a Business feature .
Forms branching enables you to create follow-up questions associated with particular responses to dropdown or multi-select questions.
First, when creating your Form, choose either a dropdown or multi-select question from your questions list. Note that in selecting either, you must specifically include your own questions.
From here, hover over and click on the **Add a branch** icon located to the right of your chosen drop-down option.
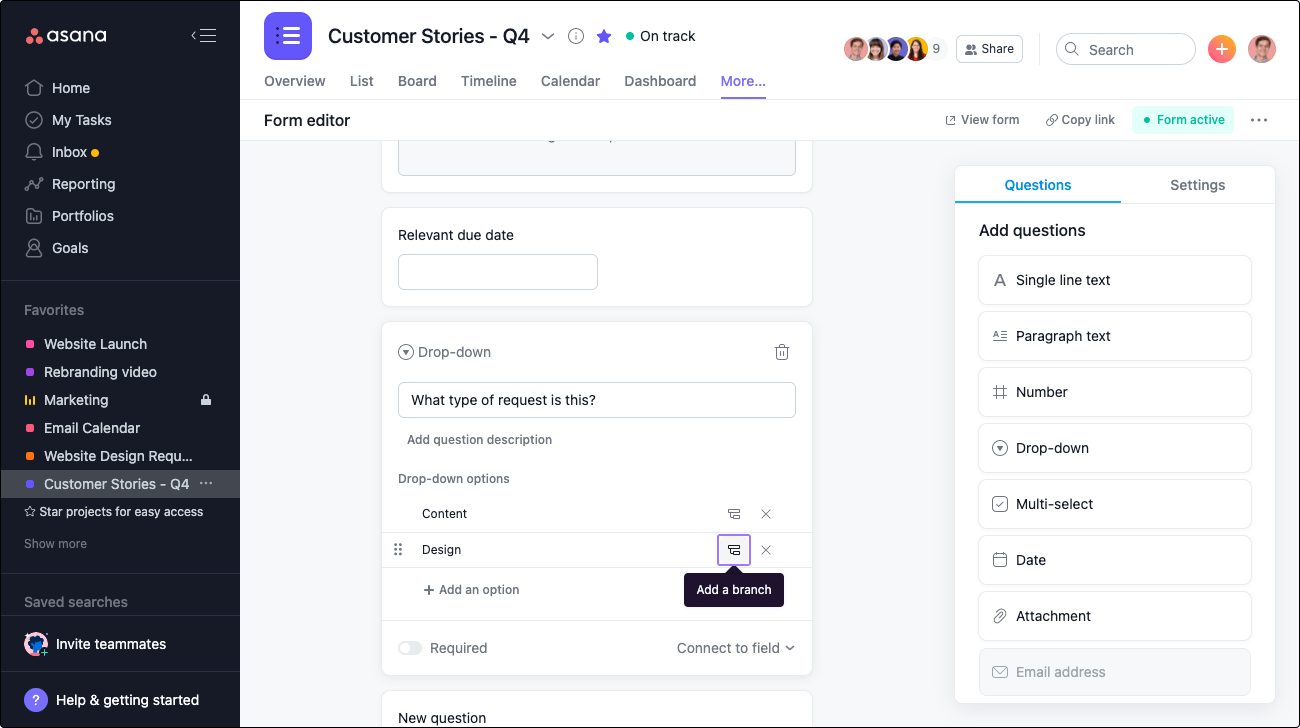
> You can have up to five levels of branches within branches.
Customize a Form
Once a Form has been created, you can add additional questions to your Form via the right sidebar.
Form settings
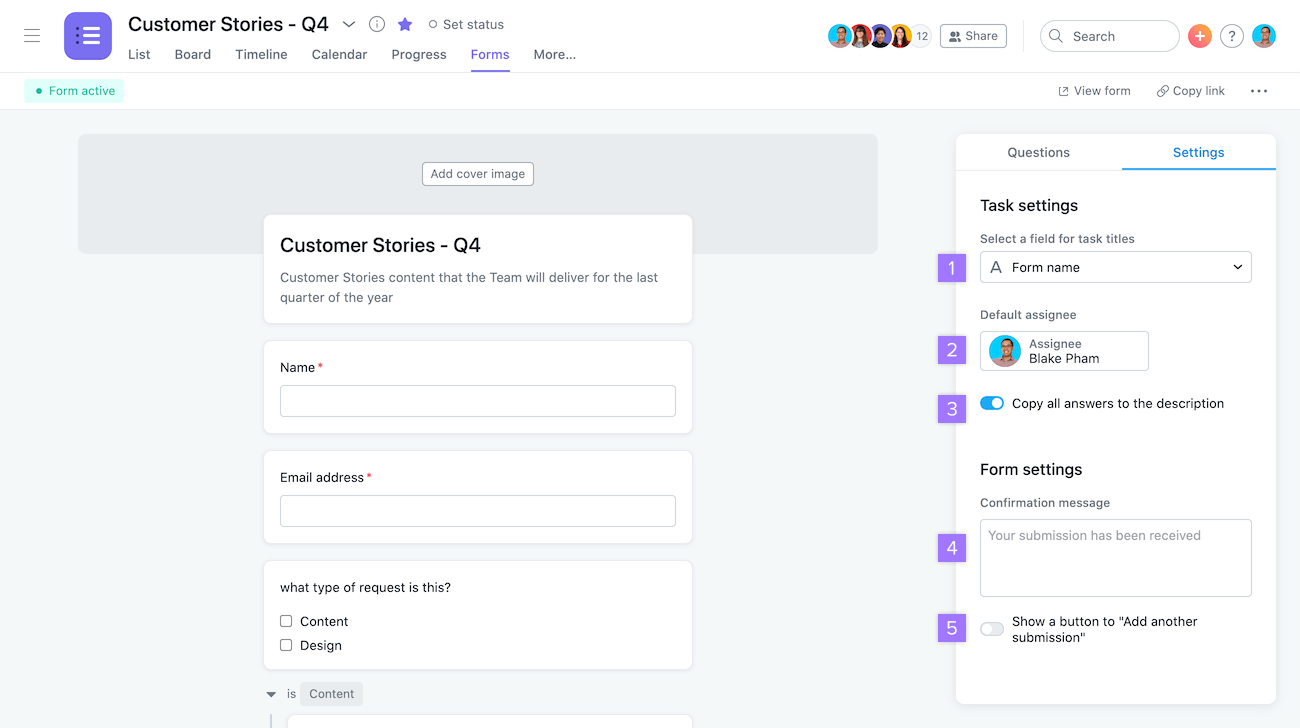
From the Form settings tab, you can:
- Choose a question response to use as the task title
- Designate a default assignee for each Form submission
- Toggle on and off the option to copy all answers to the task description
- Add a custom confirmation message
- Include a button so that submitters can easily complete another submission
The ability to add a default assignee and a custom confirmation message is a Business feature.
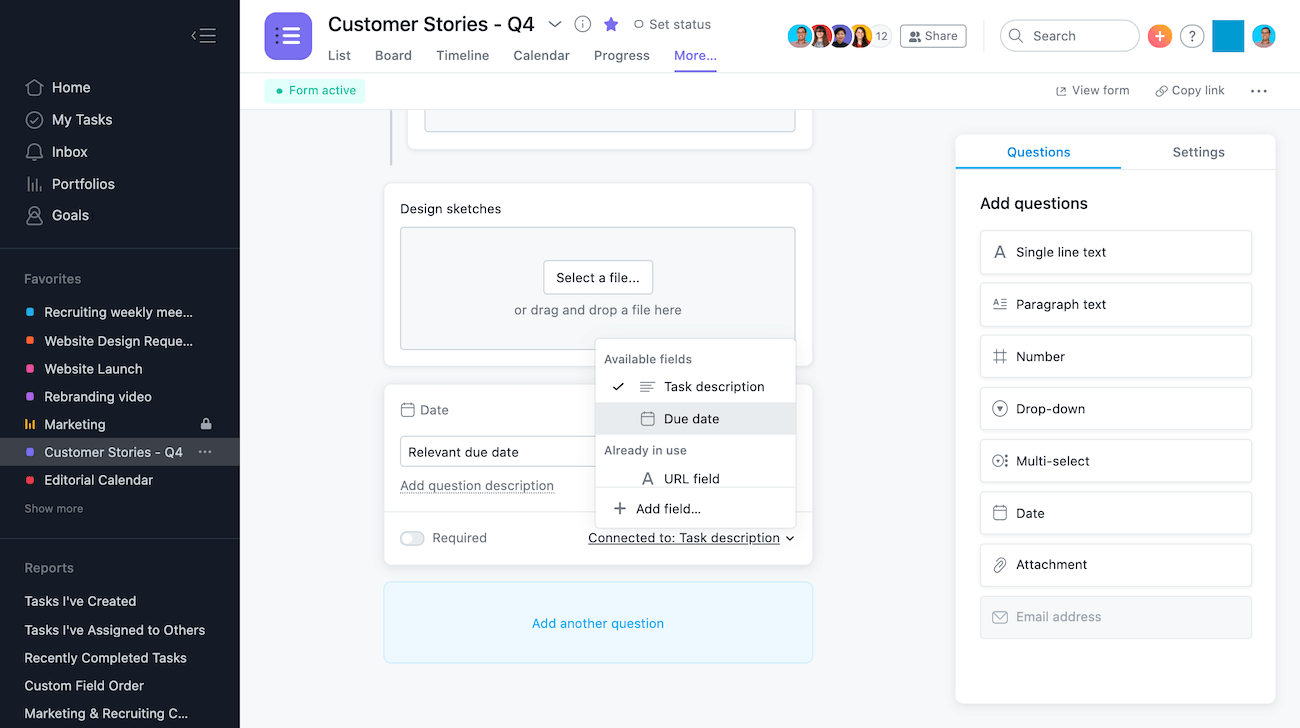
Custom Field mapping
With Custom Field mapping, you can update what Form question responses are connected to in Asana.
You can also create a new Custom Field from the Connected to window.
Date field mapping
For date questions, you can also choose to have the Form question responses connected to the due date.
Header customization is a Business feature .
To add a cover image, click on the Add cover image icon at the top of your Form.
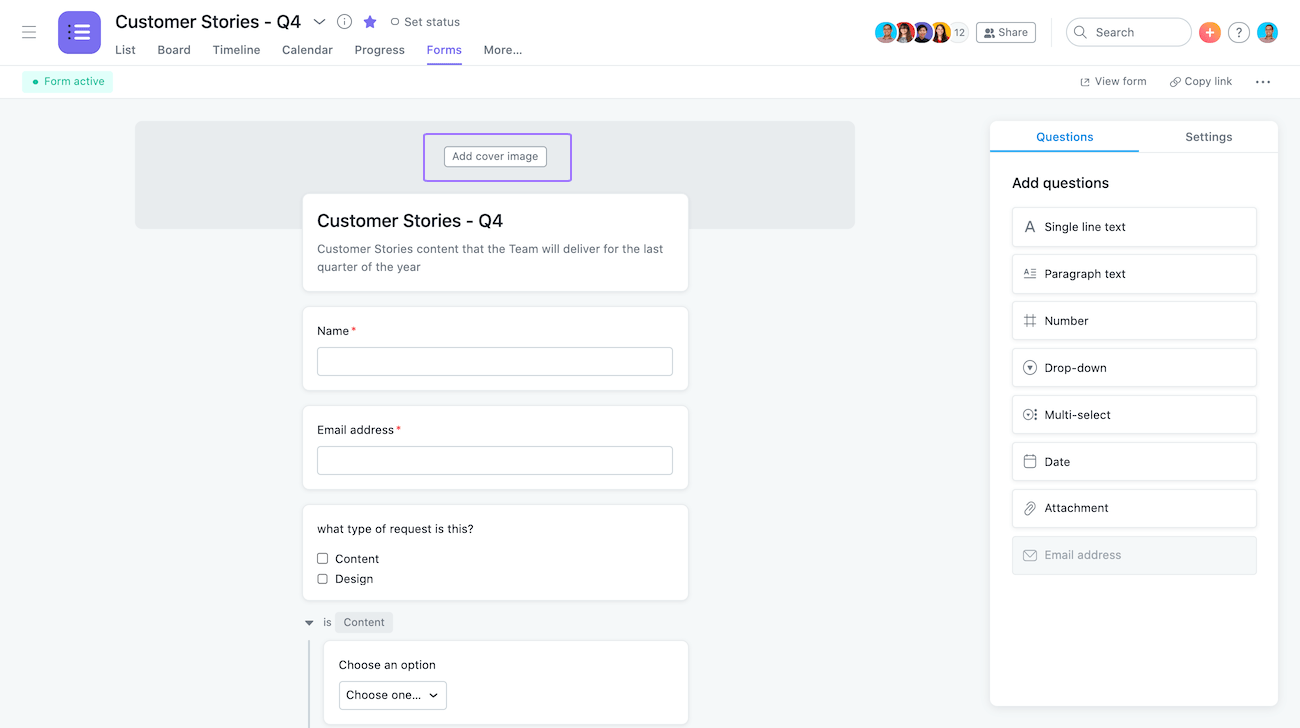
The image dimensions for the Header are 800 x 120 pixels.
Custom branding on Forms
Enterprise users that have uploaded a logo to Asana via their Admin Console will have the option to display this logo on their Forms.
To add custom branding to your Form, first, please upload your company logo. You can do this through the Settings tab of your Admin Console.
Once the logo has been uploaded, navigate to your Form and click on the Form name / Form description. From here, click Show your organization's logo on this form.
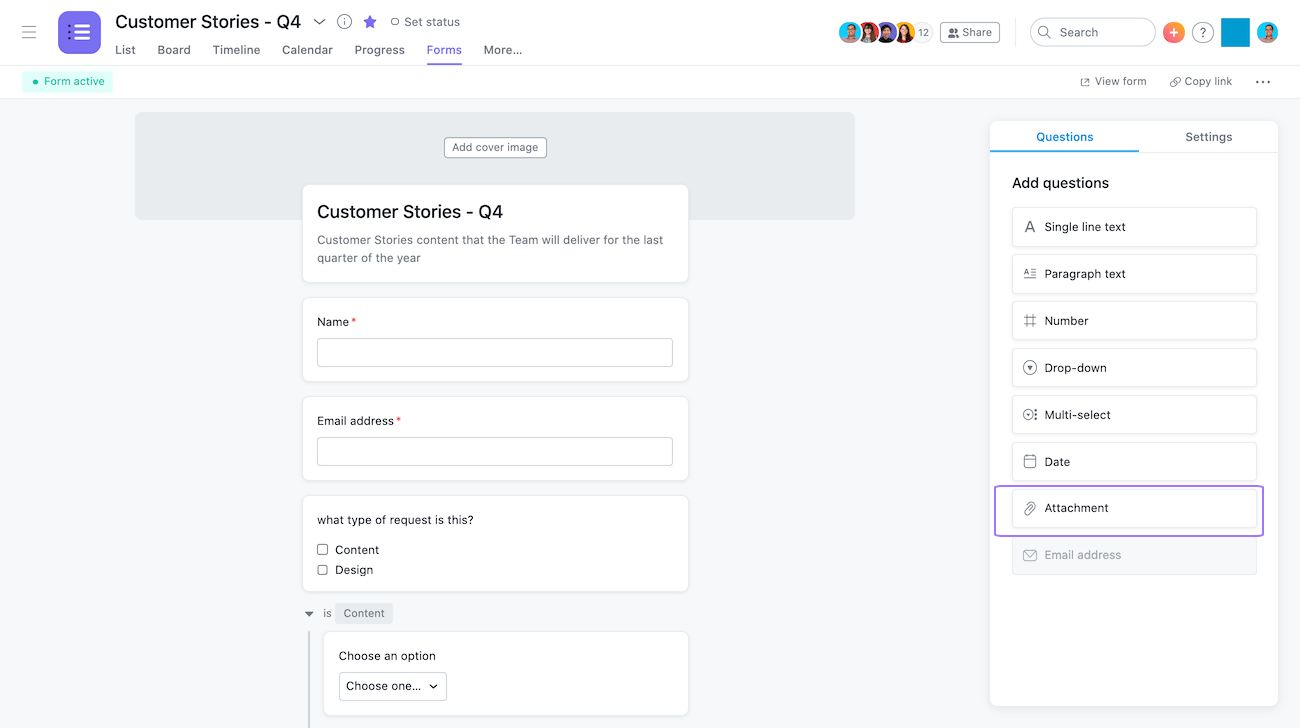
Add attachments to a Form
You can also add attachments to your Form, so form submitters can attach creative briefs, images, documents, PDFs and more. Any attachment added to a Form will attach to the task that's created in your project once the Form is submitted.
To add an attachment, click on the Attachment icon under your questions list.
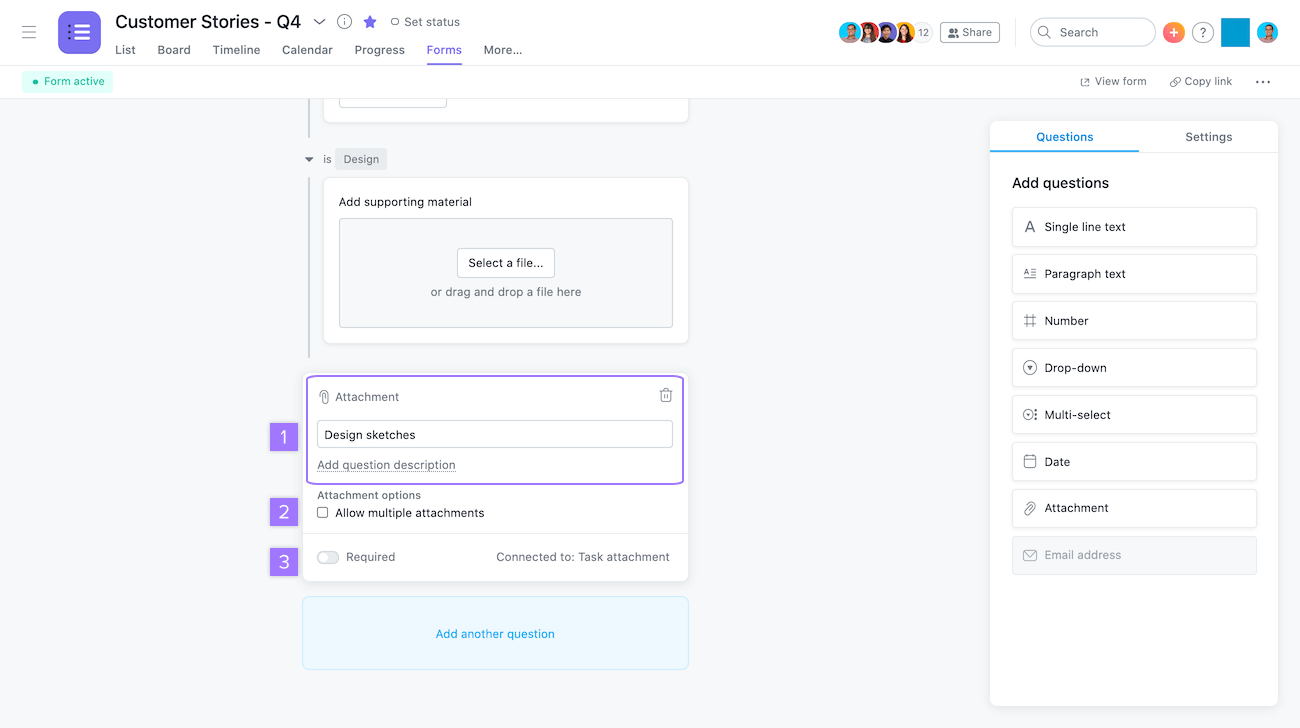
Once you've added your question, you can:
- Change or edit the question name and add a question description
- Allow multiple attachments to be added
- Toggle on or off the Required field
Preview a Form
As you build your Form, you can preview it at any time to see how it will appear to form submitters.
From the Form view in a project:
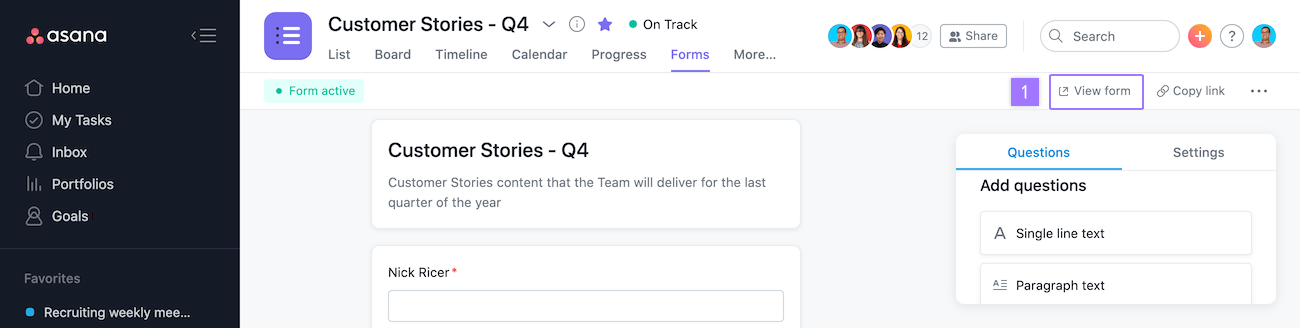
- Click View Form
Once your form is ready to share, you can click the Copy link button and the link will be copied to your clipboard. You can share the link with your teammates in Asana, as well as anyone who doesn't have an Asana account, and they'll be able to fill out the Form.

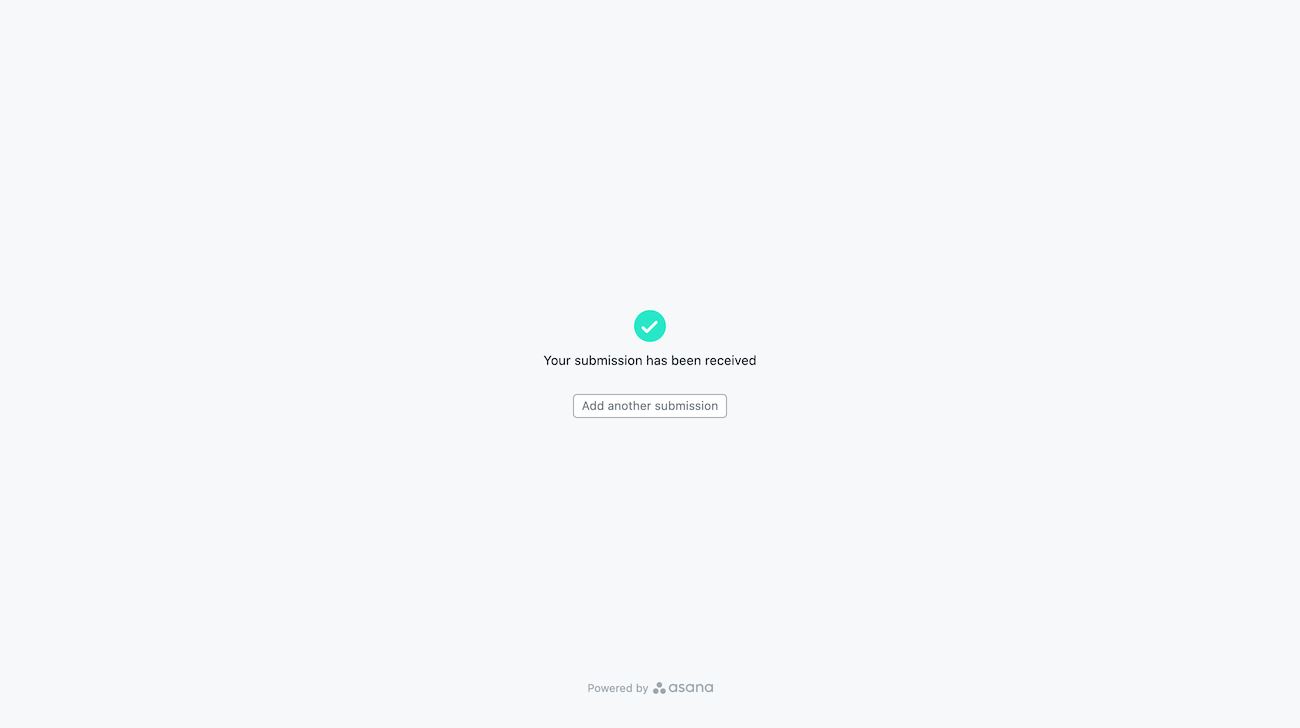
Once the Form is filled out, the Form submitter will see a confirmation message letting them know that their submission has been received, and their submission will come in as a new task in your project.
A confirmation email with a record of the Form submission is also sent after the Form is submitted.
The Form must include an email question and the submitter must complete the email question for the submission to be sent.
If the submitter is in Asana, you can add them as a task follower. If they are not in Asana, and you'd like them to follow along, you can send them an invite to join you in Asana.
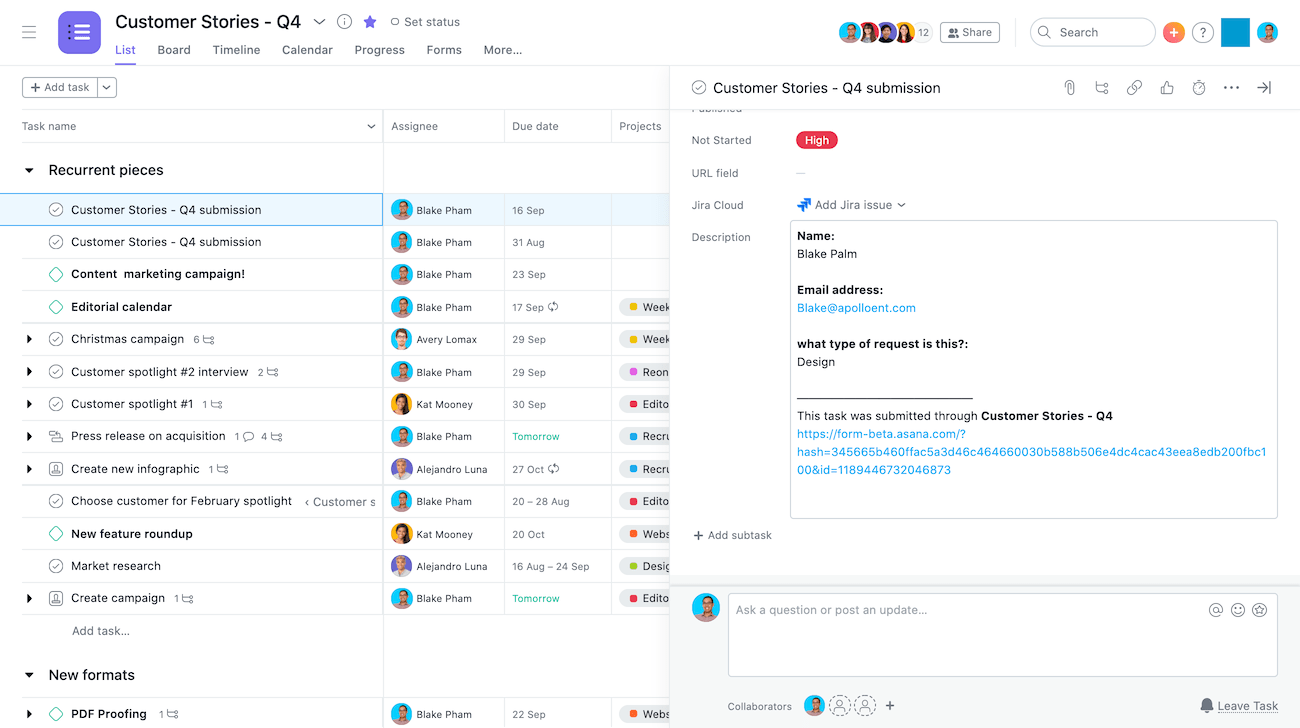
You can then add followers, prioritize work, change task details, and move work forward to ensure that the task gets completed.
Forms as a template
Asana-created project templates include Forms.

How to create a Form template:
- From Choose a project template click on Creative Requests
- Click on the Use template button when you navigate to Form template
From project templates you will be redirected to a Creative Requests Form which will capture all your team's creative requests and organize it for you.

When you select Use Template, you can then rename the template and get started with your new project in Form template.
Duplicating a Form
When duplicating a project, you also have the option to duplicate your Form. Just select the Form check box when duplicating the desired project.

Forms automatically duplicate via Asana-created templates, custom templates, and the API.
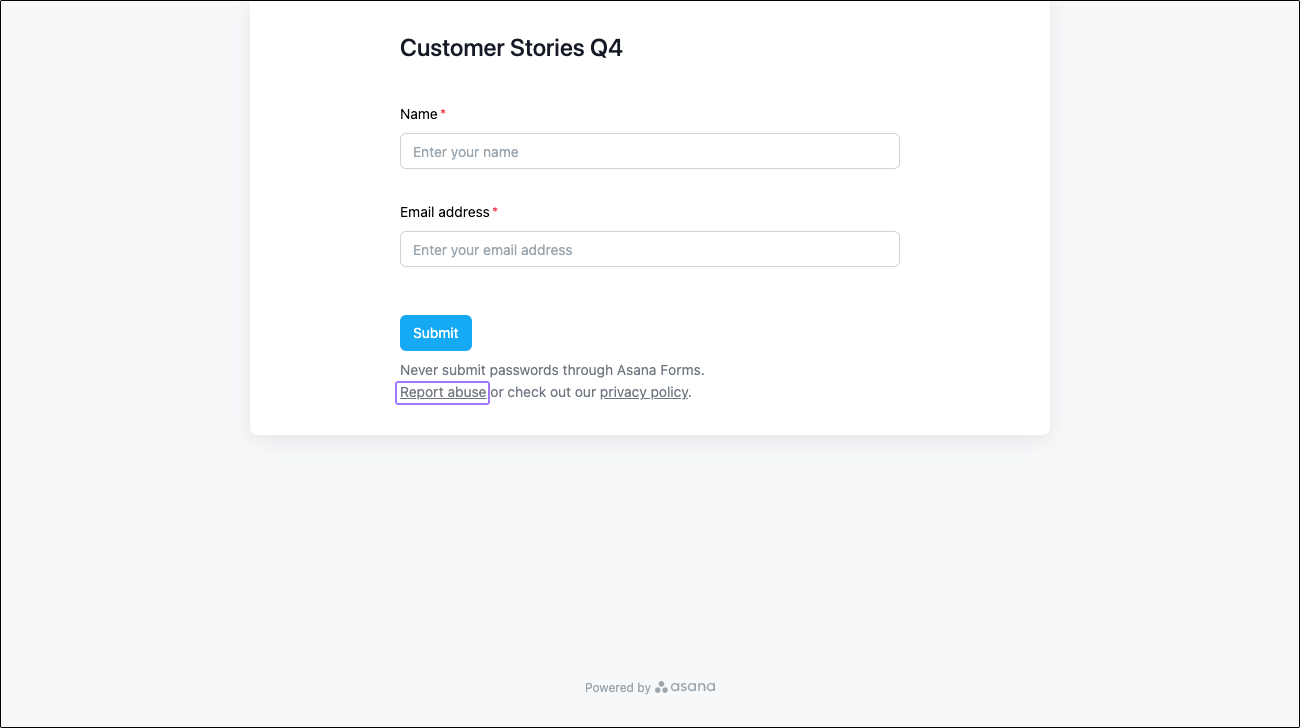
Reporting abuse in a Form
To report abuse in a form, click on Report abuse. Asana's security team will be notified to review and act on the incident in question.

How To Change A Template From Comment Only In Asana
Source: https://asana.com/guide/help/premium/forms
Posted by: baileybarriver.blogspot.com
0 Response to "How To Change A Template From Comment Only In Asana"
Post a Comment